

This is a job for home that's well overdue. This is my rough sketch and cutting list, I managed to get the whole carcass from one 8x4 sheet. The finished bookcase will look much better than the sketch, I hope!

The sides and top are chunky to match the work surface in our kitchen and I achieved this by gluing together two pieces of walnut veneered MDF in the vacuum press. I put in both sides at once to save time.

I lipped the show edge with 8 mm walnut against the flat surface of my work bench. This style of bench with the frame flush with the top comes in very useful for all sorts of clamping.

Here I'm cutting some 1 mm lipping for the ends of the top. I'm using a Mag Switch feather board which works very well and is easy to set, this keeps things nice and even and keeps my hands well clear of the blade. You can see I also use Mag Switches on my home made fence.
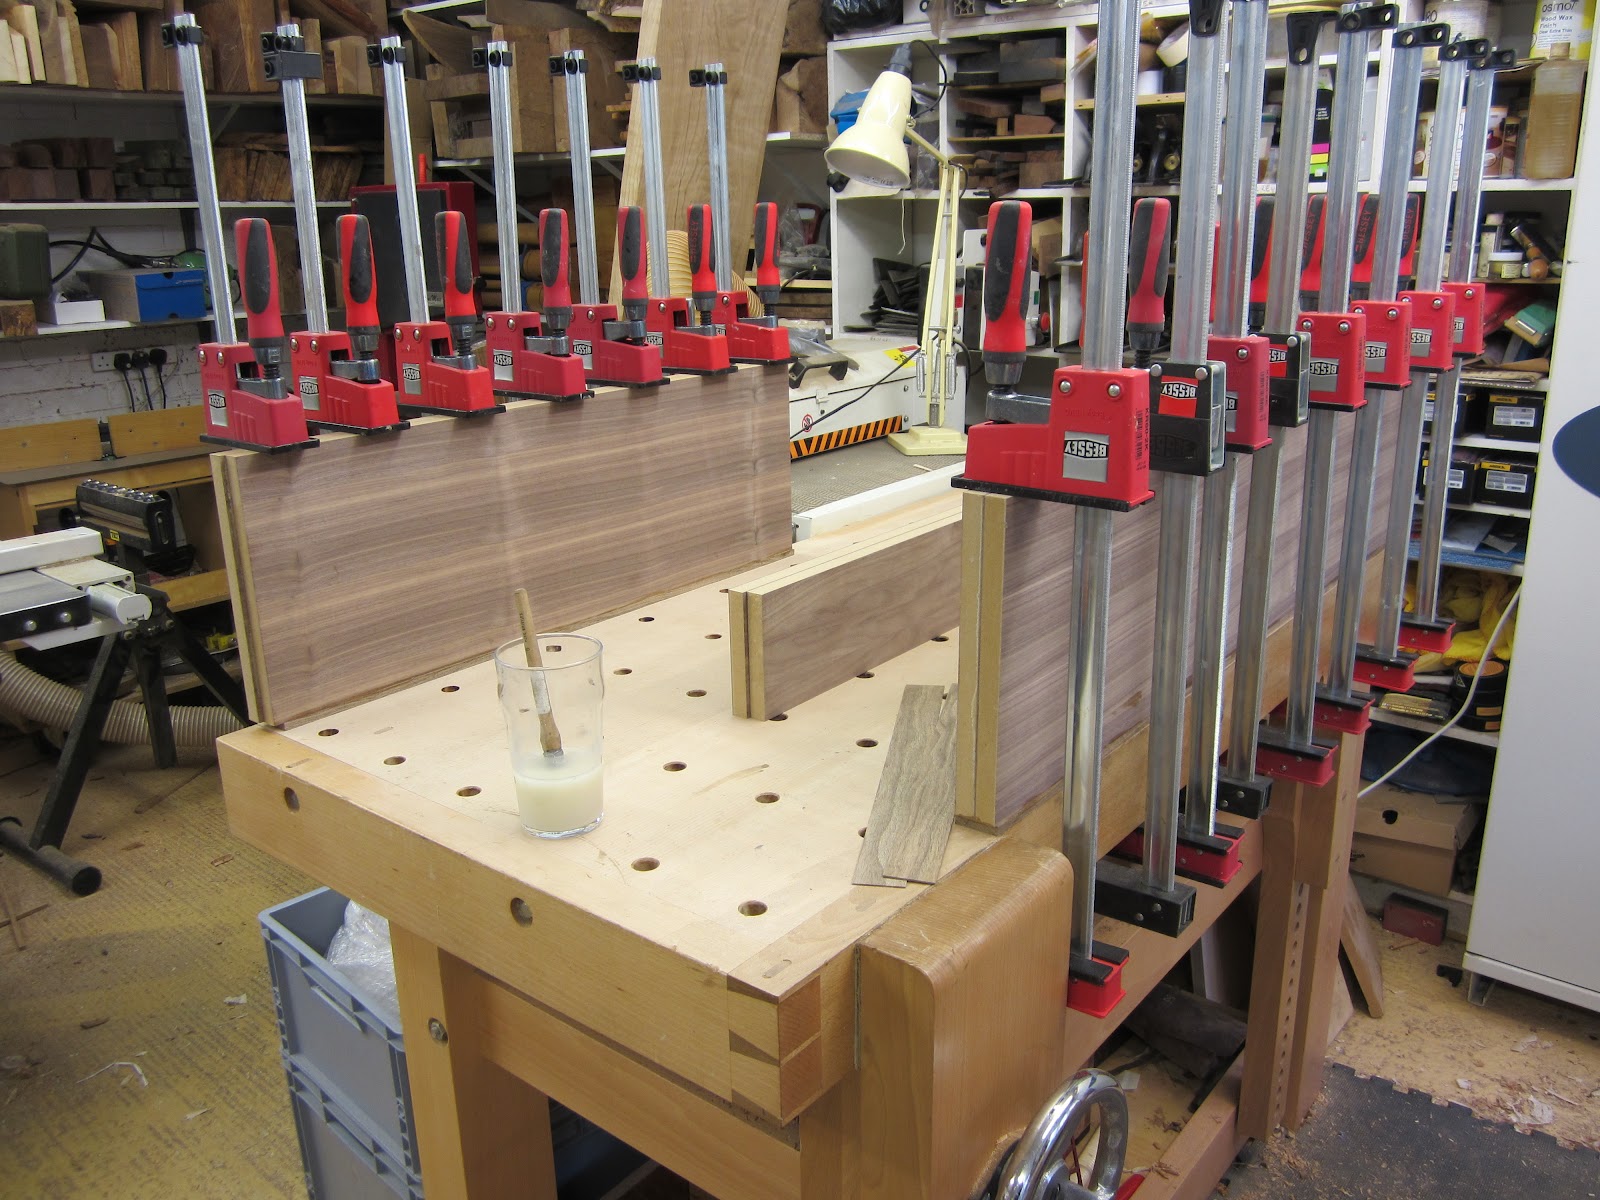
It's nice to have more than one workbench in the workshop as well as plenty of clamps!

Cleaning up the edges is quickly done with a block plane, this is quicker and less noisy than with a router.

The jointing is done with a Domino, a great tool. To do the trial assembly I use slightly undersized tenons which are trimmed with a block plane. I mark these with an 's' for small and keep a selection in each size.

Here is the trail fit, I've rebated the back edge to receive the back panel. This reminds me why I don't use MDF very much, horrible dust everywhere despite the vacuum.

This is the base being glued up with a couple of spacer pieces to keep things square and add lateral support.

Oh by the way I couldn't resist making two more boxes from the Victory oak and that's it gone. Shown here lined with bottle green and royal blue pig suede along with their certificates.
No comments:
Post a Comment